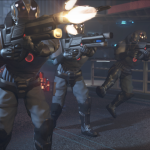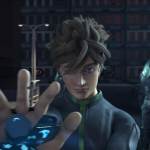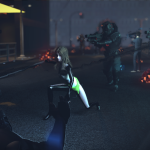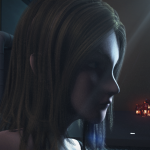
Biotech project is a project I worked on with a team of 5 other people. We had about a 6 weeks to create it with about 3 weeks of pre-production. It was designed to be a game trailer.
Here is the video of the Biotech trailer:
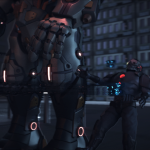
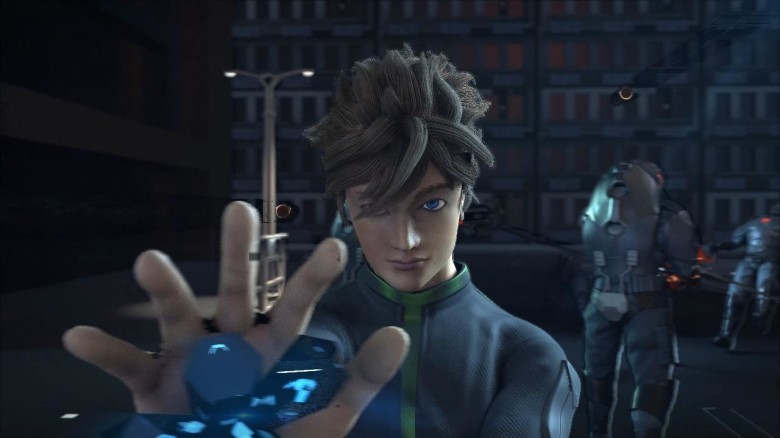
Here are some screenshot of the trailer:
This project was one of the most difficult projects I ever worked on. The scale of it was way too big for a few first year students to do, and I had many nights where I worked till 5 in the morning just to get a decent result.
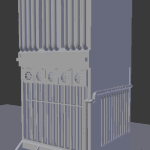
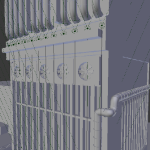
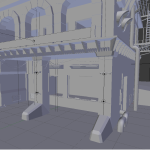
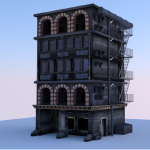
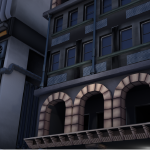
In total there were 4 buildings, two of them modelled by me in Blender. Here are the two buildings:
The textures were done by Robyn Vu and Rendered in Cycles.
Here is a break down of all the work I did in the Biotech trailer:
- Modelling and Sculpting
- Male character – Modelled and posed
- Female Character – Modelled
- 2 Buildings
- Hair
- Shaders
- Lighting and Special Effects
Modelling and Sculpting
Originally I was only going to Sculpt the male character only and a couple of buildings since I gave myself heaps of work to do. But the person who was in charge of the female character hadn’t really created in Zbrush before so she had a hard time creating the result she wanted. In the end I created the model so she could create the clothing for her.
The sculpting was all done in ZBrush.
Hair
The hair was created using Blender’s hair system. There were about 20-30 strands I had to hand place and move, then blender would create about 100 or so children strands. I followed the tutorial by Blender Cookie (http://cgcookie.com/blender/cgc-courses/styling-and-rendering-long-hair-with-blender-and-cycles/) and I’m grateful to them. Without it, it would have to spend precious days or weeks researching and developing hair which would look good.
Shaders
Most of the shaders were fairly simple (Diffuse + Gloss). But there were some more complicated ones:
Skin and Sub-surface Scattering –
For the skin I used the tutorial by BlenderNerd http://www.youtube.com/watch?v=5_ISbzc1Yxw& . Basically I used a translucent material and created a diffuse material to block out the bones in the face so the face would get some SSS but the ears and nose would get the full effect of the translucent material.
Hair
The hair shader was a translucent material which allowed light to come through. Without the translucency the hair strands would look too hard and plasticky.
Lighting and Special Effects
By this point I had no more time to finish it (about 2 days) and we were already eating into our render schedule so I just created some quick lighting and effects to everything.
The bullet effects was done by using a glass shader without the reflectivity, so only the lights would be refracted.
The bullet fire was done by using a basic tear drop model with a displacement to give it that frayed look.
The crystals were created with a glass shader on top, and inside the glass shader was smaller model with a checker material that would emit light. The reason why I used the checker material was that I wanted to have the lights look a little more random inside, as it would look too plain when it created it.
